How To Create A Gallery Wall In 9 Easy Steps
Looking to learn how to create a gallery wall in your home? Here are 9 easy steps to help you get started and inspire you today!
A great way to add inspiration and personality to your home is with a gallery wall. It’s a creative arrangement of multiple pieces of art or pictures.
The frames can be a mix of sizes, finishes, and styles. If you prefer a more minimalist look you can use multiple frames of the same size and finish.
When it comes to the location of a gallery wall you can add them anywhere you want to make a statement and create a moment. They’re fabulous in a hallway, stairway, over a sofa, an empty corner, and more!
If you want to display your unused artwork and/ or photos a gallery wall is perfect for you. Check out the DIY instructions on how to create a gallery wall in your home!
This post is all about How To Create A Gallery Wall.
READ MORE>>> Home Design Inspiration On Inspired Design Talk

How To Create A Gallery Wall In 9 Steps
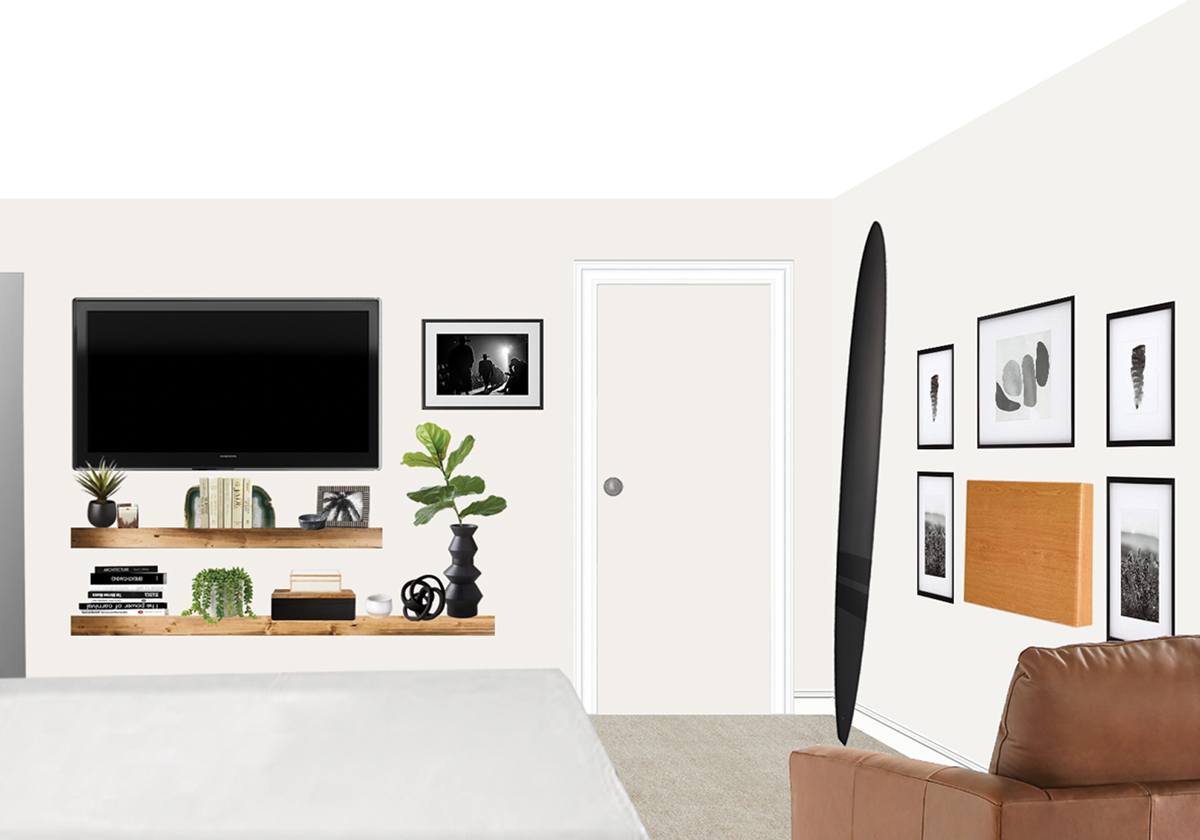
In addition to the inspiration above here’s the finished gallery wall in the Airbnb. It’s a mix of sizes, frames, and colors.
The use of black and gold throughout creates a balanced cohesive design. It also has useful information like the WiFi password.
Ok, enough inspiration… Let’s get into the real reason you’re here.

Steps To Create A Gallery Wall:
- Decide the color palette
- Determine your space
- Add personality
- Mix up the gallery wall frames
- Plan your layout
- Create a gallery wall template
- Tape the template to the wall
- Use a level
- Hang the Art
Gallery Wall Inspiration
We created a gallery wall in our Airbnb space by using a collection of new and old prints. It was a super affordable way to make a big impact in the room.
We already had a vinyl decal on the opposite wall so the other side needed something to balance it out. I originally thought I’d just add one large canvas print but they were all over the budget.
To keep costs down I worked with what I had and added a few extra pieces. It’s a mix of inspirational quotes, feminine prints, and the New York skyline.
Below are some ideas and inspiration to help you decide on the theme of your gallery art wall.
Corner Gallery Wall
When it comes to creating a gallery wall there are many different design styles. The one above is a modern gallery that uses different sizes, prints, and frames. It’s a creative way to make a statement in an empty corner of your home.
As you can see you can combine a variety of styles and still make them work together.
Glam Gallery Wall
Similarly, this design features all gold frames for a clean glam inspired vibe. I love this idea for my future cloffice space.
Mixing different size frames and prints adds interest to the simple design. It has a squared-off layout but would also work if it was scattered.
Boho Gallery Wall
You can also create a boho eclectic gallery wall using art and other decor items. This is a great example of an organic layout that’s full of personality and interest.
If you have items from your travels this is a fun way to display them. Experiment with different layouts until you’re satisfied with the design.
Gallery Wall With Shelf
In addition, if you want to create a bold look you can layer artwork on floating shelves and create an original design. This is a great example of how to mix and match family photos, your kid’s artwork, and modern prints.
The beauty of a scattered layout is you can continue to add to it at the sides or top providing you have the space. It’ll evolve as your family does.
You can also update photos as you go but leave the old ones in the back. Each time you add a new print you’ll remember where it started.
Moody Gallery Wall
Create a dramatic gallery wall on a dark-painted wall like the above inspiration. I don’t know about you but I’m a fan of a moody black wall!
This look is perfect for a man cave, basement, or bachelor pad. Your friends will think you’re so cool and have an acquired design style.
Vintage Gallery Wall
This post may contain affiliate links, which means that if you make a purchase, I might make a small commission at no extra charge to you. Please read my full disclosure here. As an Amazon Associate, I earn from qualifying purchases.
OK, last one I sware! If you love nostalgic black-and-white photos you can create a similar version to the one above. Grab your favorite old-school movie stars and print the photos at Office Max.
Add them to a collection of large oversized frames and Voila! BTW CB2 makes it super easy the create this vibe with their large variety of prints.
RELATED POST: Photography Artwork That Will Make Your Home Look So Good
1. Decide the color palette
First, you need to decide on your color palette. Will you go monochromatic, eclectic, or modern? Just to name a few ideas.
The pieces I already had were “YOU GOT THIS”, the black chalkboard tile, and “THE WiFi PASSWORD IS”. So from this, the color palette I was going for was gold, black, and white.
I decided not to have a pop color because I was going for a clean contemporary vibe.
The additional pieces I added were from three different HomeGoods and I spent about $100 for those. The goal was to inspire future guests, especially women.
When creating the color palette and theme start with the largest piece and work the other ones around it.
To create this style gallery wall you’ll need a mix of vertical and horizontal pieces in different finishes and sizes. This will create visual interest and move your eye throughout the design.
For this gallery wall, I started with all the pieces I wanted to use.
There was one I decided to nix through the process. In addition, I do suggest having a few extras that you can return or use in another room.
2. Determine your space

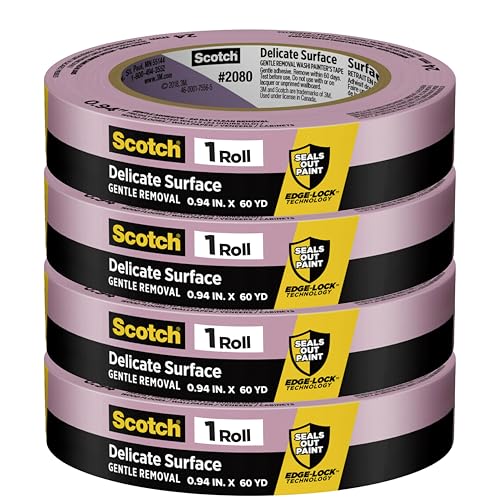
The next step is to determine the amount of space your gallery wall will fill. I created one large sheet of paper (using craft paper) but you can use blue tape too.
I wasn’t sure how far to the right I wanted to go so I extended the paper across the majority of the wall.
Related Post: How To Paint A DIY Nursery Mountain Mural In 7 Easy Steps
3. Add personality

When shopping for artwork look for pieces that add your personality. For instance, I loved this piece I saw in HomeGoods and added the quote to the chalkboard tile.
Sometimes I can have a bit of a potty mouth so it spoke to me. It came out super cute!
My chalkboard tile is from Pottery Barn but it’s sold out. They do have a new version with a ledge that could also work for a gallery wall.
RELATED POST: Black And White Bathroom Artwork You Can DIY
4. Mix up the gallery wall frames
In addition, to add interest you can mix a combo of frame finishes. For instance, I have gold, black, and canvas frames in the mix.
Likewise, if you’re creating a modern gallery wall you can purchase a set of frames to add your prints in.
For example, West Elm has this Build a Gallery Wall Set available in up to 15 pieces.

5. Plan your layout

Once I had the size of the area I started playing with the pieces to create the layout.
There was a mix of black and gold pieces so I balanced those by alternating the black frame artwork.
The starting point was the “New York” and the “She believed she could so she did” artwork. Since I wanted those in the center I started there and worked my way out on each side.
The end result is the layout you see in the image above.
By playing with the arrangement on the floor, you can decide what looks good without damaging your wall. Move things around and get a second opinion if you’re not sure.
You can always post a picture to Instagram of the possible options and ask for comments. Everyone loves to give their opinion!
Once you have the final layout you can move on to the next step.
6. Create a gallery wall template

After I had the layout I cut craft paper to the size of each piece. You can number the pieces or draw what they are for a visual.
I am a visual girl so I did a quick sketch of the art.
7. Tape the template to the wall

The next step is to tape the template to the wall. Treat your gallery wall as one large piece of art and center it at eye level.
The center of this gallery wall art is about 60” off the floor which is a good starting point when hanging art. If you have tall ceilings 60″- 62″ from the center to the floor is a good guideline.
8. Use a level

Make sure to use a level to hang the first piece of art.
A great tip is to use painter’s tape across the back of the art. Mark where your nails will go and place the tape on the wall.
You can also mark the paper template with the nail placement. Either method will work to hang the artwork.
Use the level to make sure the tape is straight. Use a nail and hammer to mark the holes in the wall.

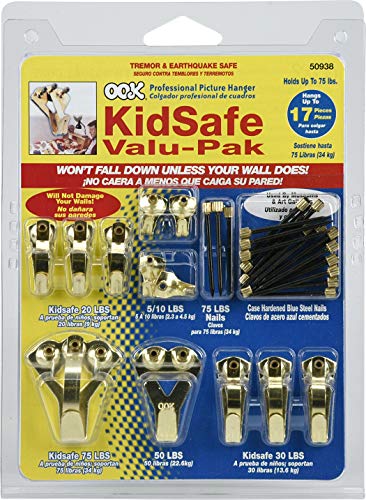
To hang the art, I used the OOK wall hooks. I love them because they are so easy to use and install art with.

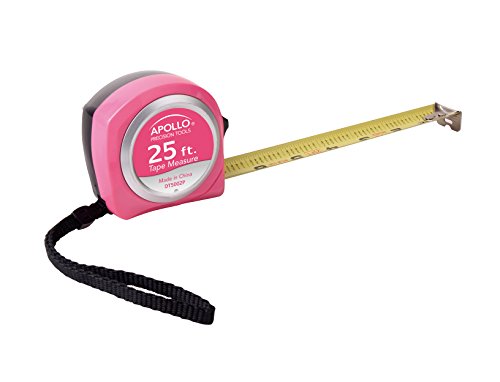
In addition, the other tools you will want to have for this project are:
- 25ft tape measure
- hammer
- drill
- step ladder (2-3 steps)


RELATED POST: 11 Inspirational Wall Decals That Will Keep You Motivated
9. Hang the Art

Once you hang the first piece, work your way out from there. Measure and center the pieces as you go leaving 1-3″ space between each one.

I wanted the bottom edge of each piece to be lined up across the bottom. To double-check I used the level as I hung the artwork.
Related Post: How To Paint Kitchen Cabinets Yourself

During the process stand back and look at how your wall gallery looks from a distance. This way you can make tweaks as you go and not at the end when it’s finished.

DIY Art Gallery Reveal

Once all the pieces are hung you’ll see the true impact of your gallery wall. I love how the gallery wall layout in the Airbnb came out.
It is super inspiring and motivational. If anyone is in for a business trip it is a constant reminder that you can do anything you set your mind to.
The ONLY limit is YOU! Dream big and go after those goals.
This post is all about how to create a gallery wall.
Other Posts You’ll Love:
- Best IKEA Curtain Hack (TikTok Made Me Do It)
- Benjamin Moore Classic Gray Home Inspiration
- How To Decorate A Floating Shelf Around Your TV
Last Updated on March 31, 2025 by Nicole DelaCruz